Connecting Mergado MCP to n8n#
This guide shows how to connect the MCP Client node in n8n to the Mergado MCP server. Authorization runs over OAuth – you don’t need to generate any token, you just confirm access in your Mergado account.
Connection details#
| Setting | Value |
|---|---|
| MCP Endpoint URL | https://mcp.mergado.com |
| Server Transport | HTTP Streamable |
| Authentication | MCP OAuth2 |
Steps#
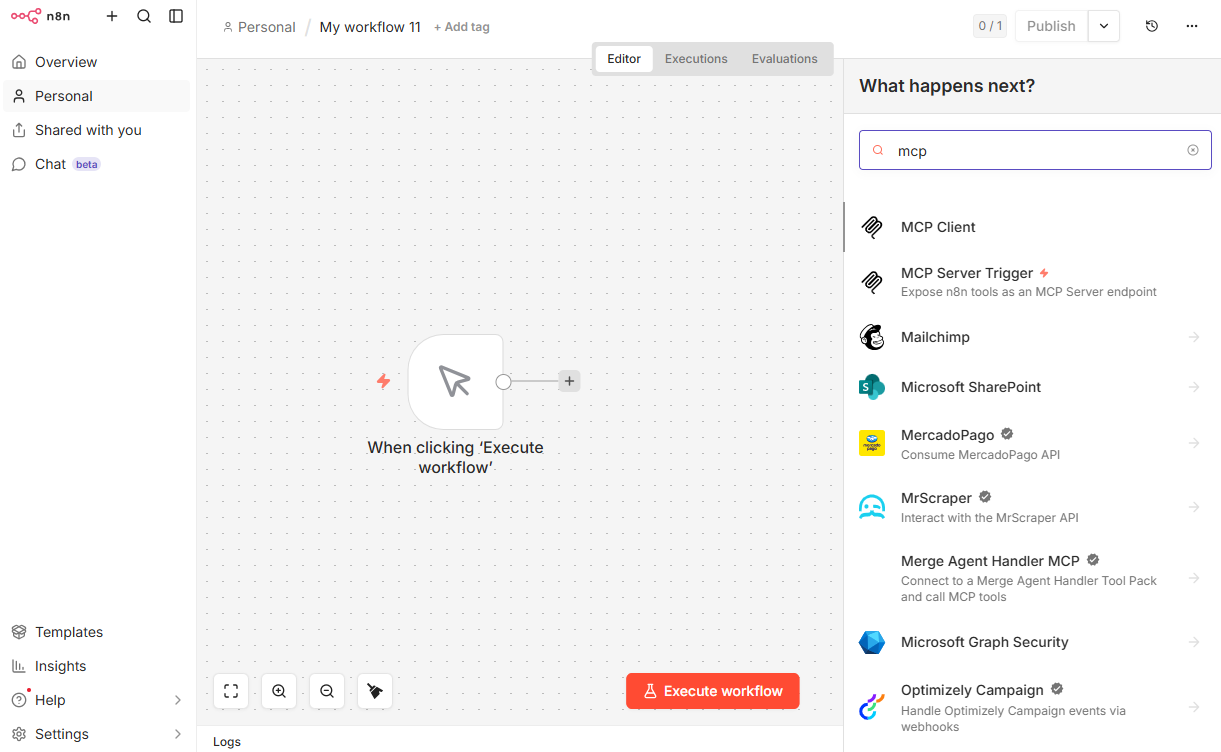
1. Add the MCP Client node#
In the workflow editor click +, type mcp into the search, and select MCP Client.
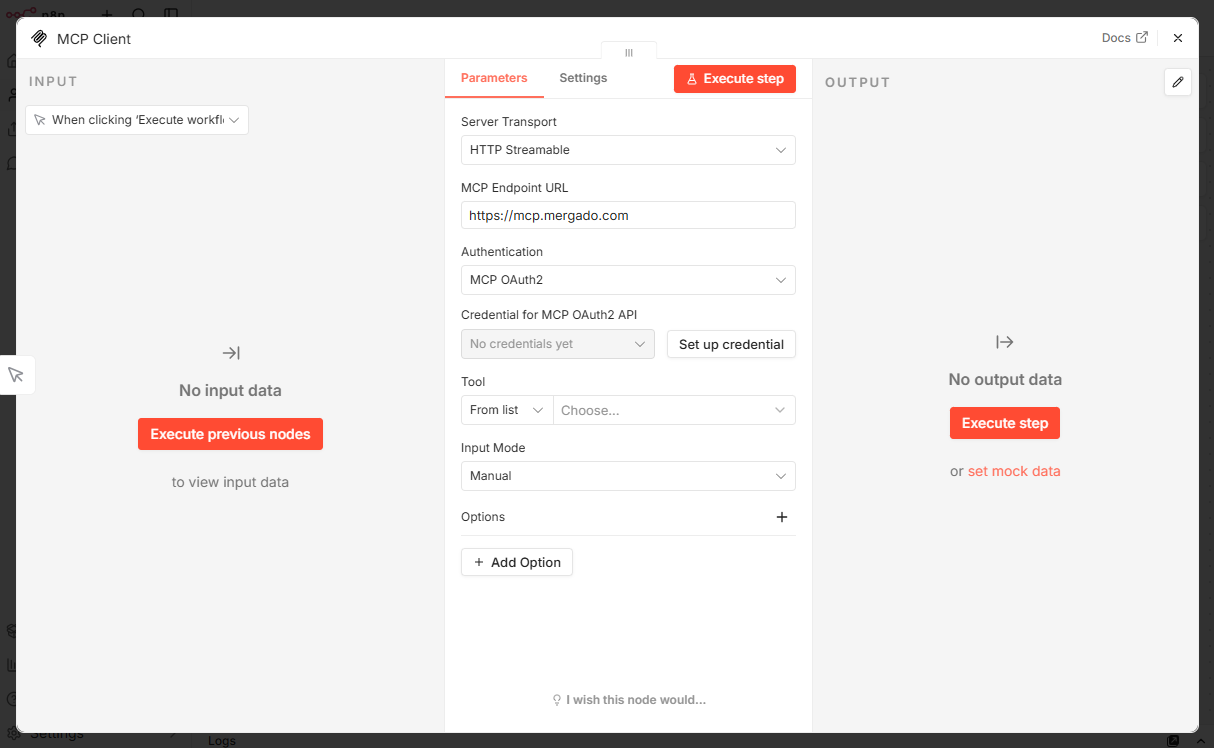
2. Fill in the node parameters#
In the node parameters set:
- Server Transport:
HTTP Streamable - MCP Endpoint URL:
https://mcp.mergado.com - Authentication:
MCP OAuth2
Then click Set up credential.
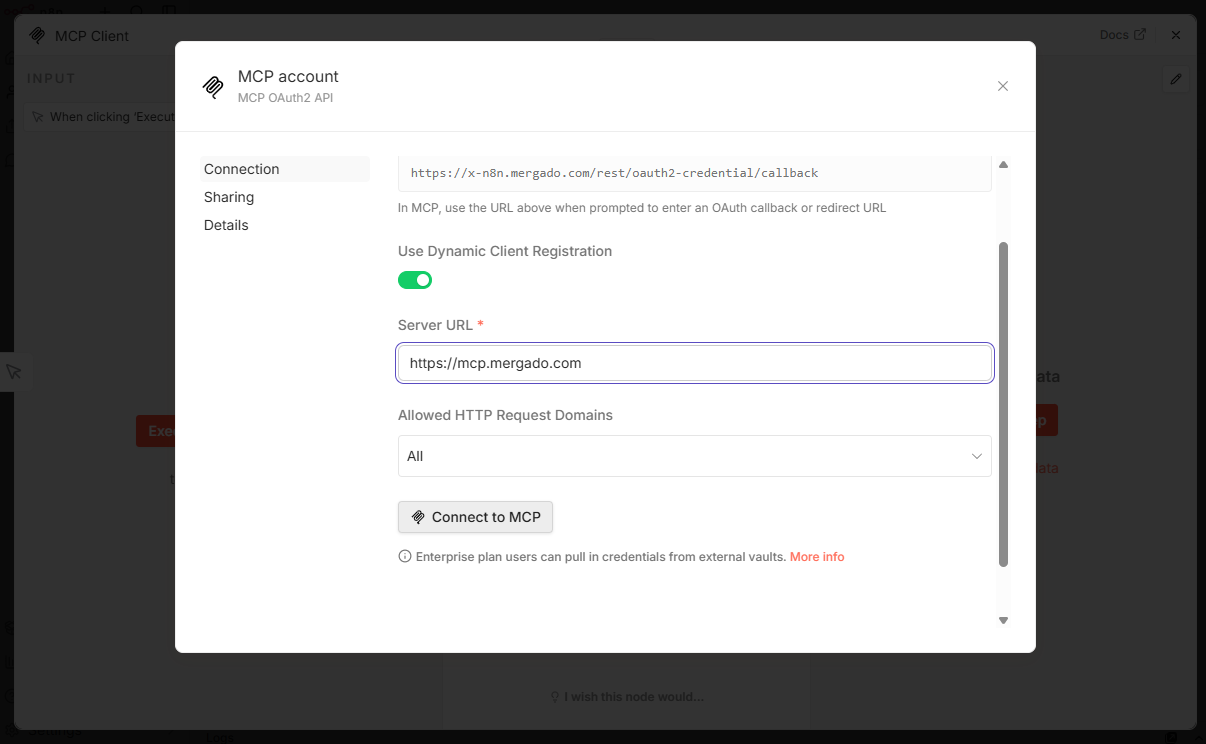
3. Set up the credential#
In the MCP account window, turn on Use Dynamic Client Registration, enter https://mcp.mergado.com in the Server URL field, and click Connect to MCP.
4. Authorize the application in Mergado#
The Mergado sign-in page Authorize application n8n opens. Review the requested permissions and click Allow.
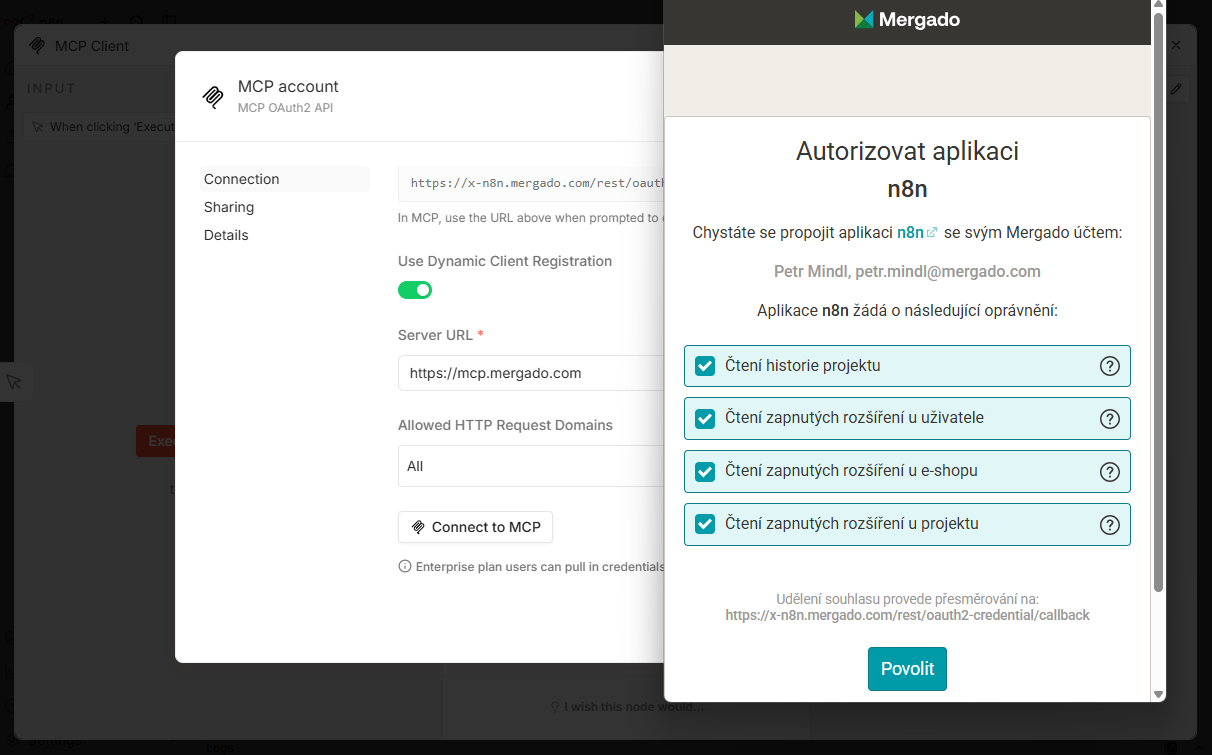
Grant only the permissions you actually need (principle of least privilege). What n8n can do in Mergado is determined by the permissions you grant.
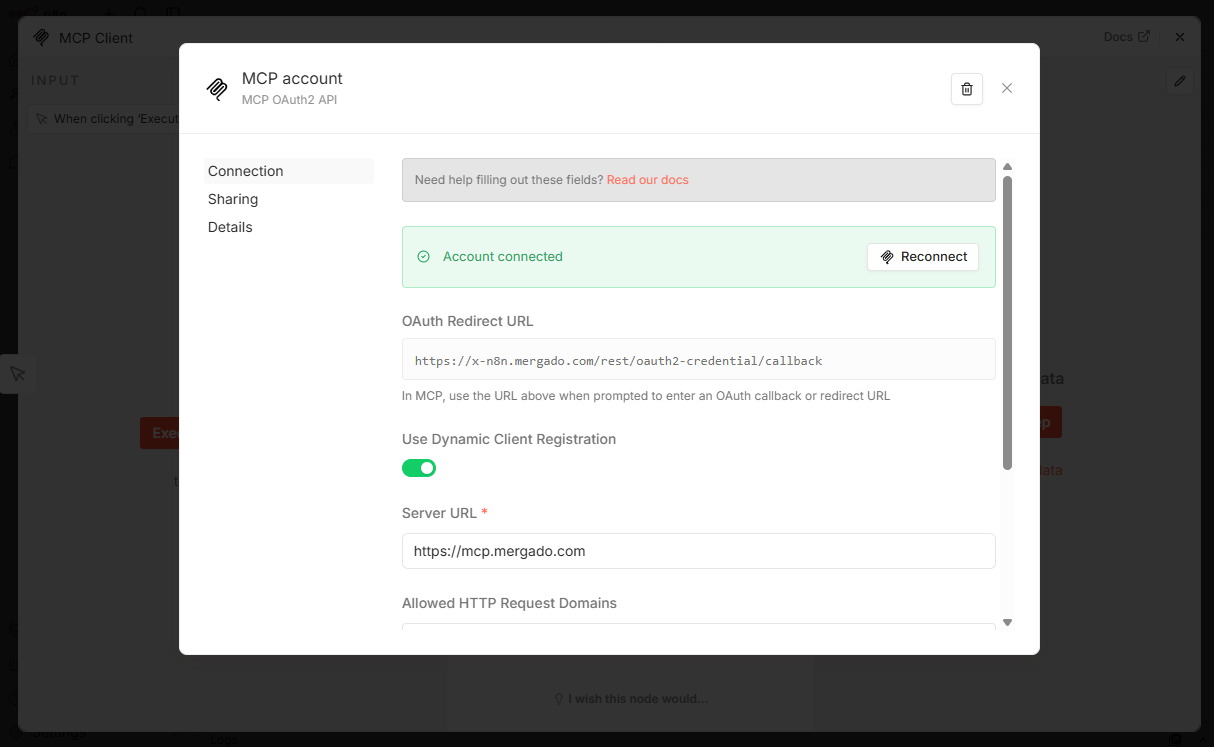
5. Done#
After successful authorization, the credential shows Account connected ✅. Go back to the node, select the tool you want to call in the Tool field, and you can run the workflow.