Google Merchant Center#
With Mergado Marketplaces, you can easily connect your e-shop to Google Merchant Center (also referred to as GMC) and manage your products via API integration. This article will guide you through the entire process of creating a campaign and uploading products.
Before you start, make sure you have prepared:
✅ Your Google Merchant Center credentials (Google account).
✅ A product feed in any format in the Mergado Editor.
✅ For availability synchronization, you can use: Heureka / Mall availability feed / Mergado Marketplaces feed / Google Shopping feed.
Why use API integration instead of a feed? API integration offers faster and more accurate data handling compared to a traditional feed. Products are updated continuously, so there is no need to wait for regular feed regeneration, and changes (e.g. price or availability) are reflected almost immediately. The API also provides better control over your data and its accuracy, which can reduce the number of errors and rejected products in Google Merchant Center. If you are already using a Google Shopping feed, the API integration builds on it seamlessly and extends its capabilities without requiring major changes to your setup.
How to start API integration with Google Merchant Center#
Within the Mergado extensions, you will also find Mergado Keychain for managing integrations.
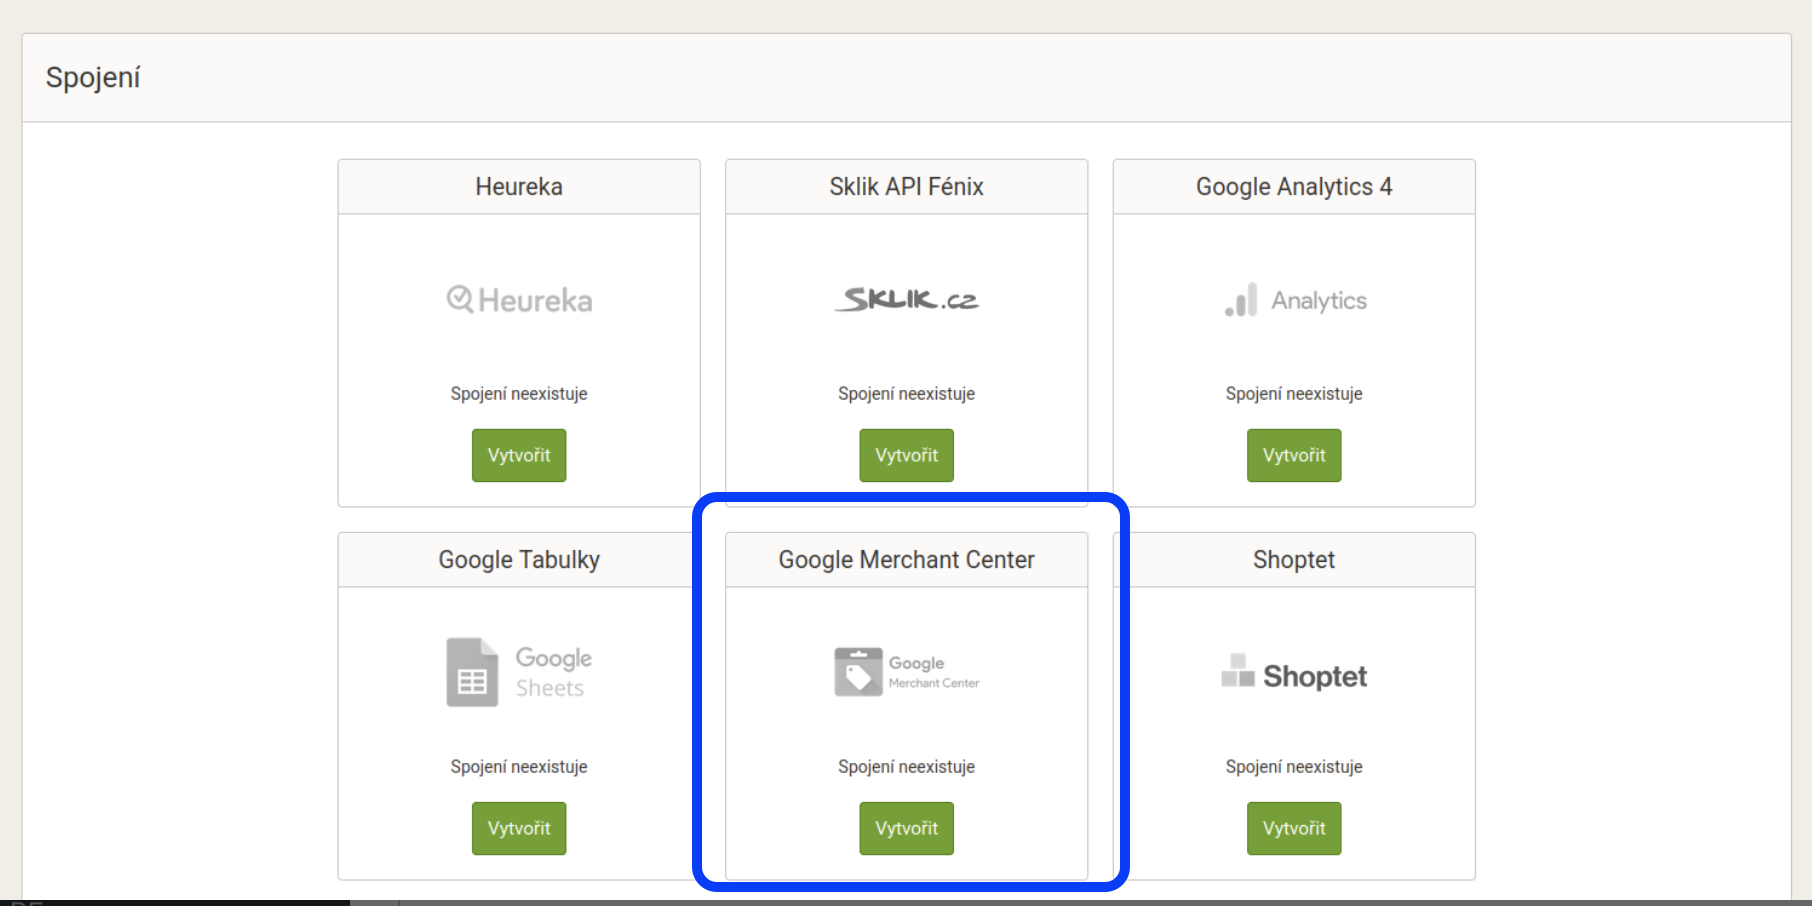
Open Google Merchant Center here:
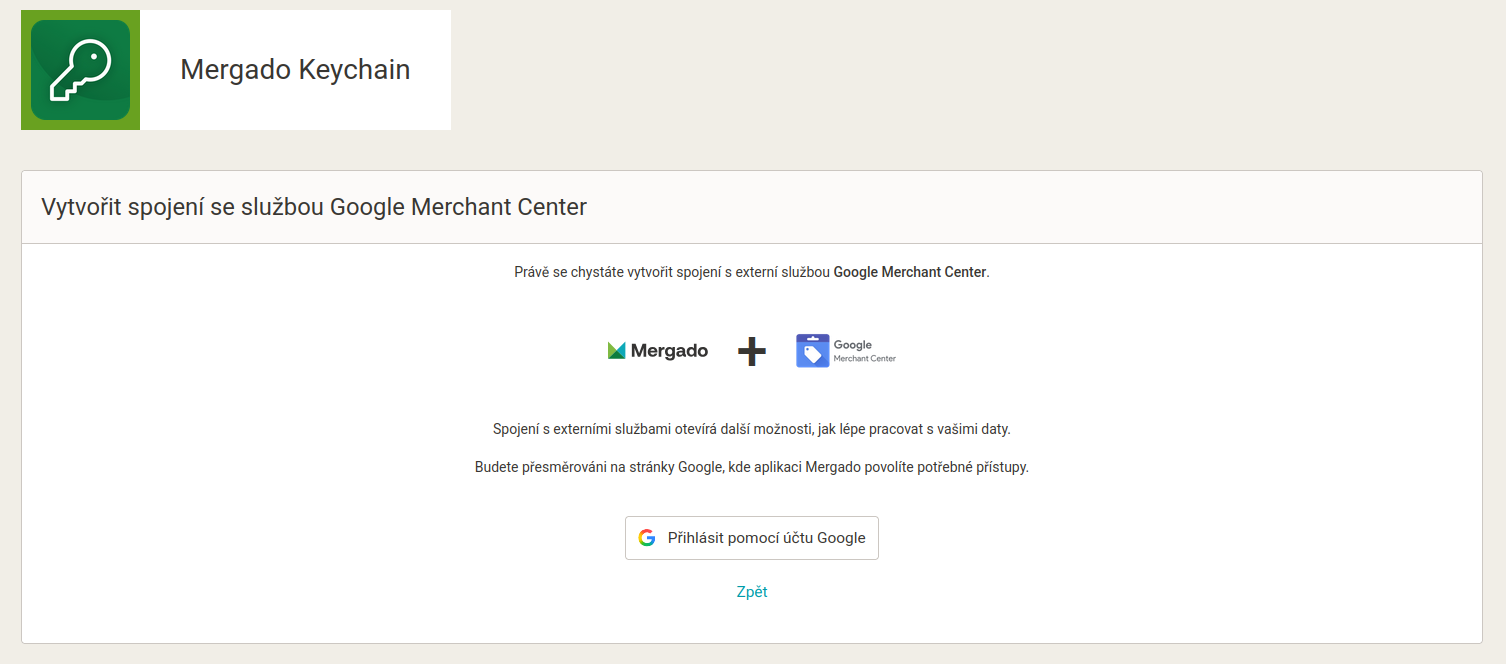
You will then be to sign in using your Google account.
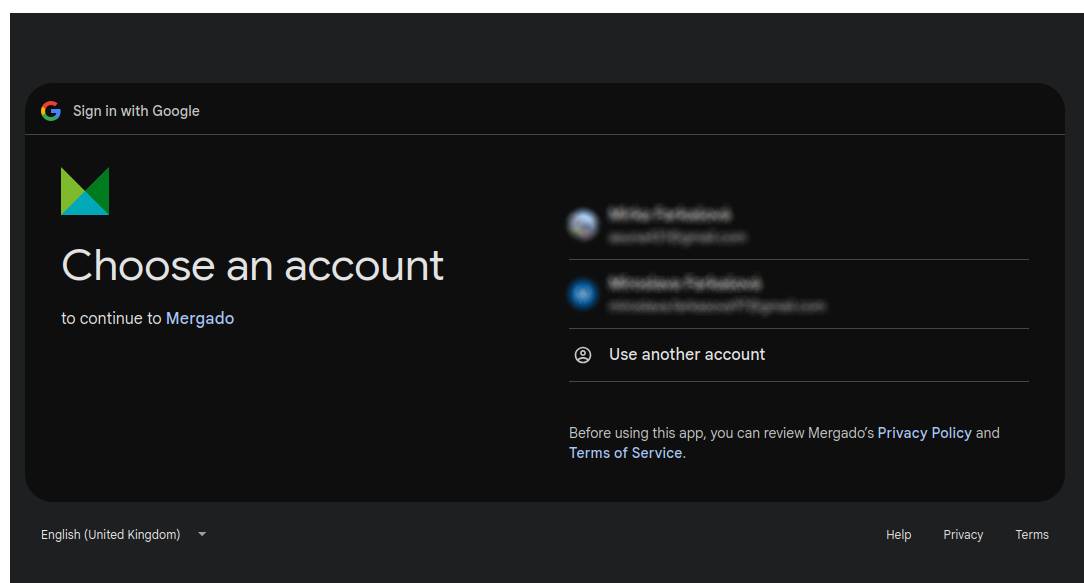
Once you confirm your account and sign in, the connection will be saved and confirmed.
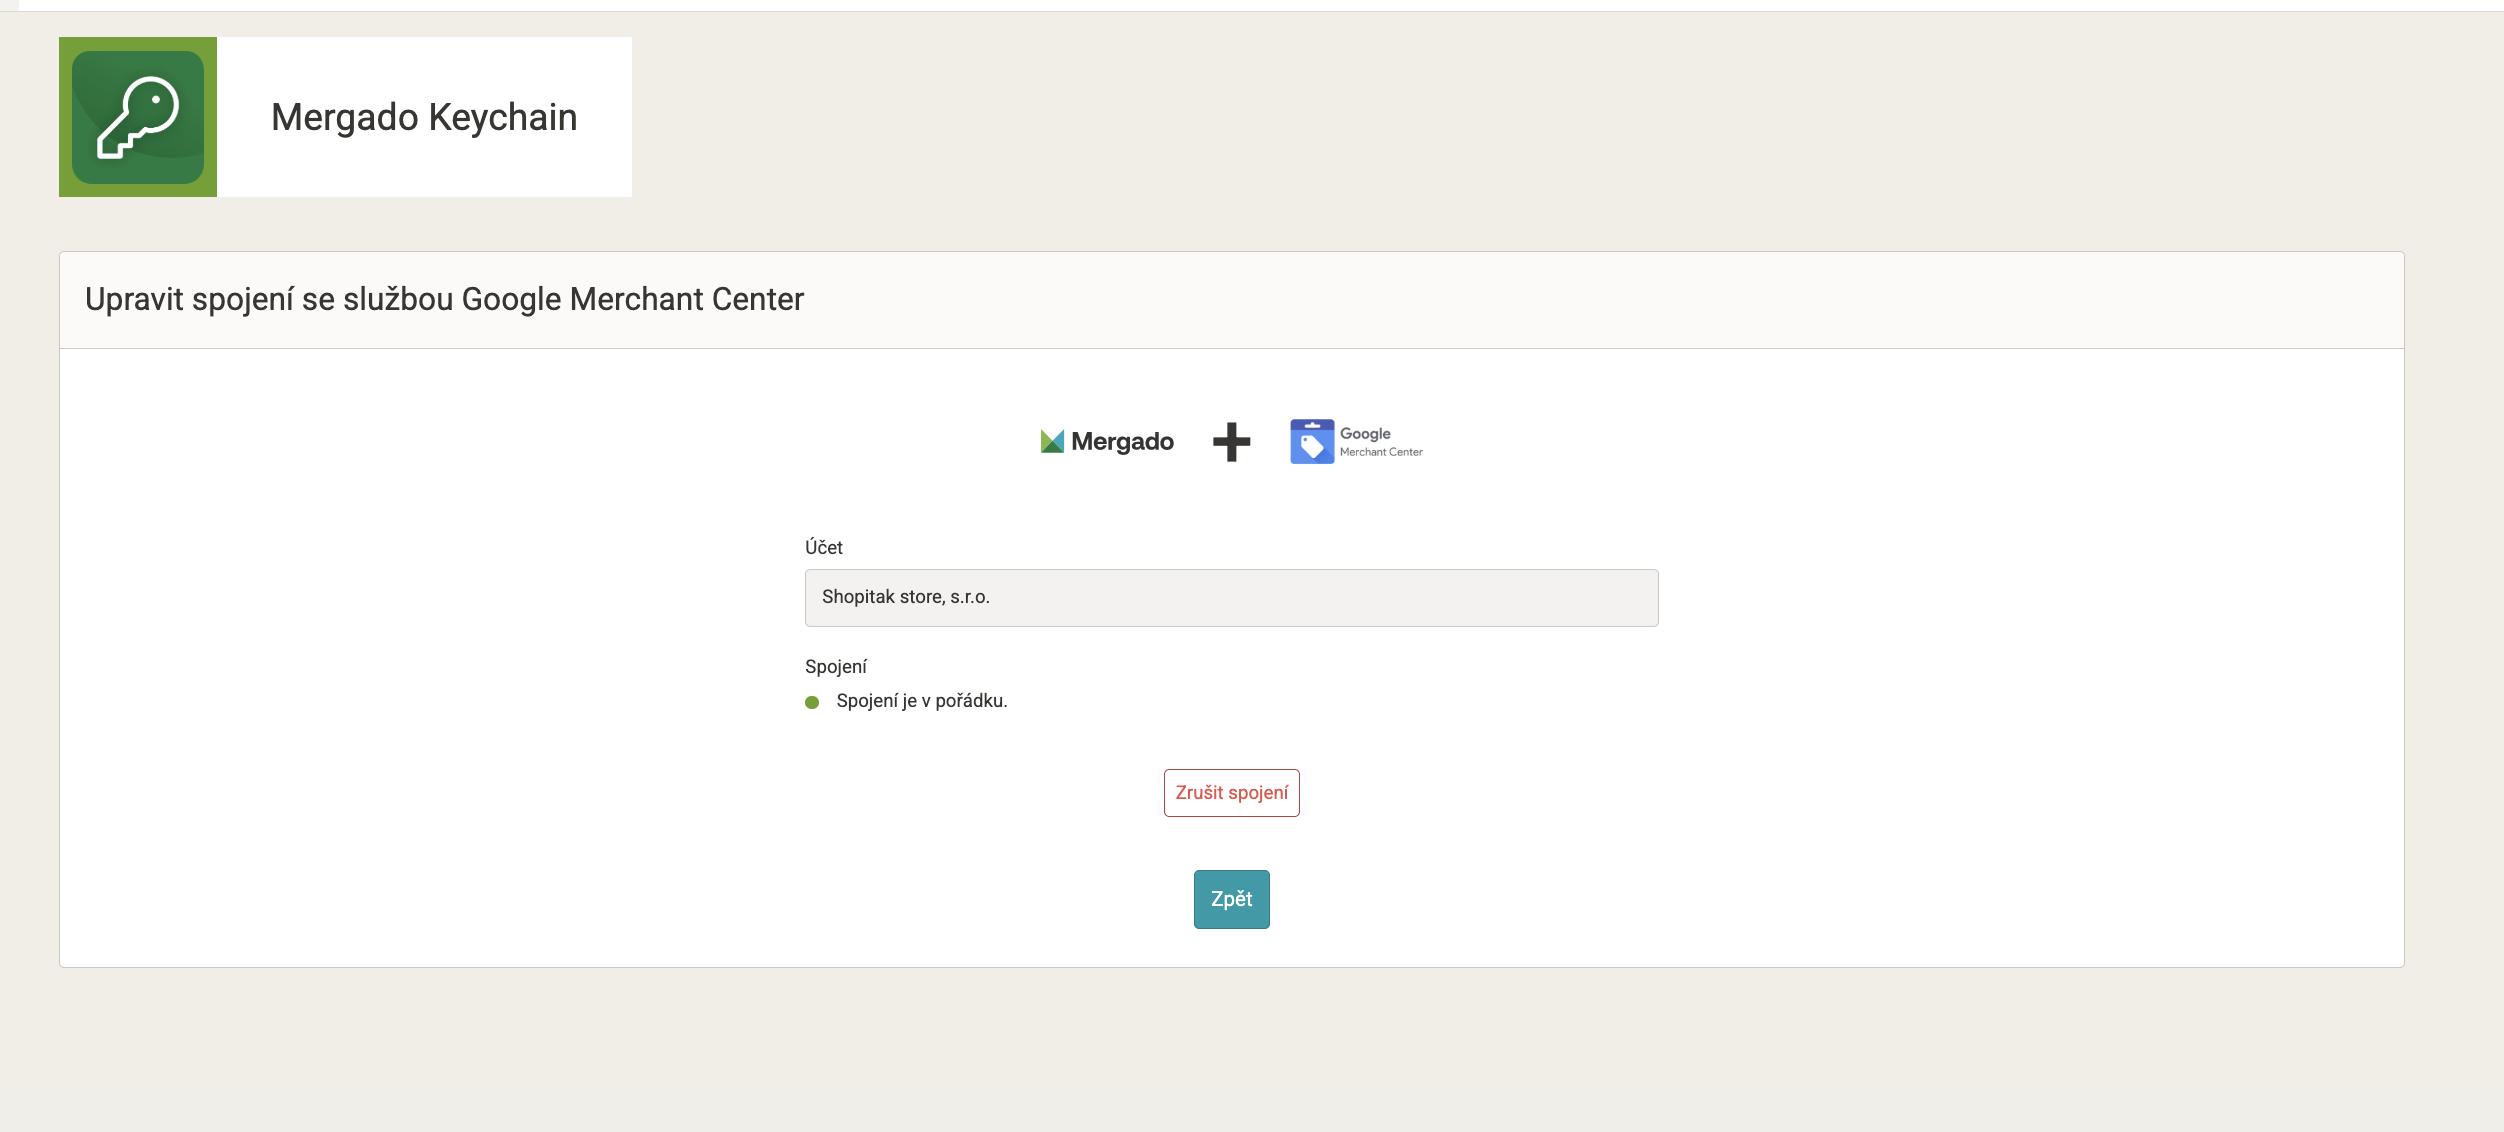
Account issues#
In the Connections section for Google Merchant Center, you will now find an “Account issues” subsection — it displays errors and warnings from Google Merchant Center that affect your account as a whole (e.g. domain issues, website verification, or feed problems). You will also be notified about critical issues directly in Mergado.
Creating a campaign#
After setting up the integration, go to the “Campaigns” tab in the menu, where you will see the “Create campaign” button in the middle of the page. You will be welcomed by our campaign creation wizard with 5 steps.
1. General#
The first step is to define the campaign name. The name is arbitrary and can be changed at any time during or after creation. We recommend choosing a name that clearly identifies the campaign for easy recognition.
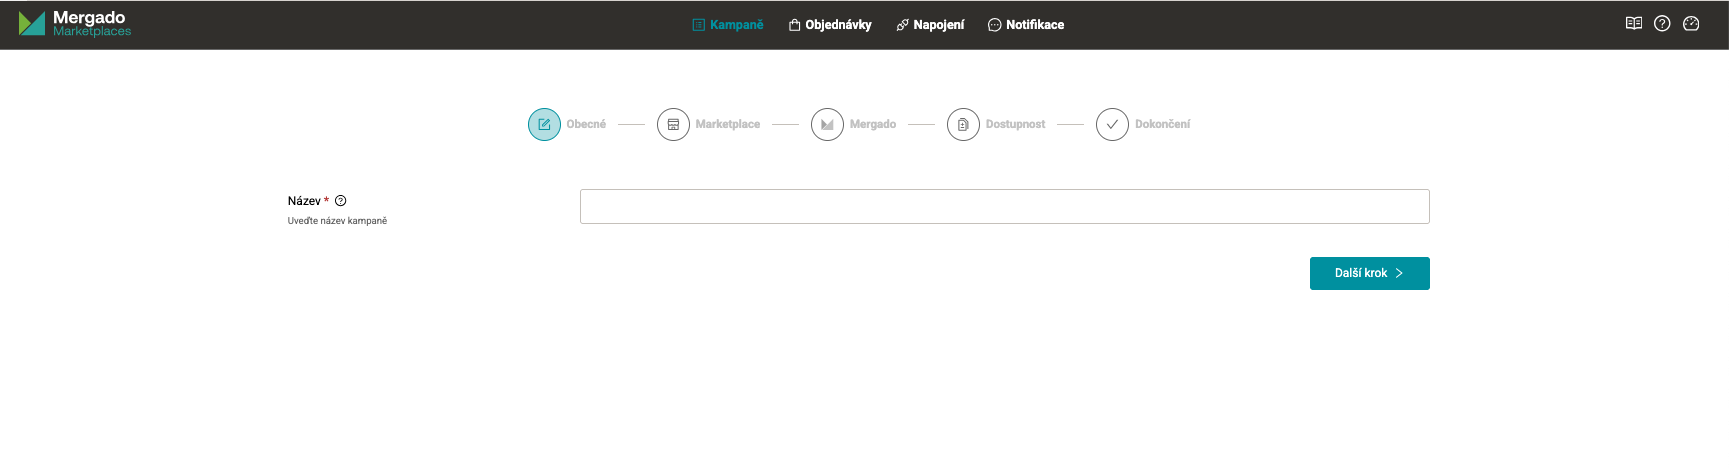
2. Marketplace#
The next step is selecting and configuring the correct marketplace, in this case Google Merchant Center. Here you choose the sales channel for GMC - by sales channel we mean the market where you want to present your products to end-customers. Based on the selected channel, the corresponding currency is automatically assigned. If you want to advertise in a different currency than the one commonly used in that market, you can change it manually in the third step.
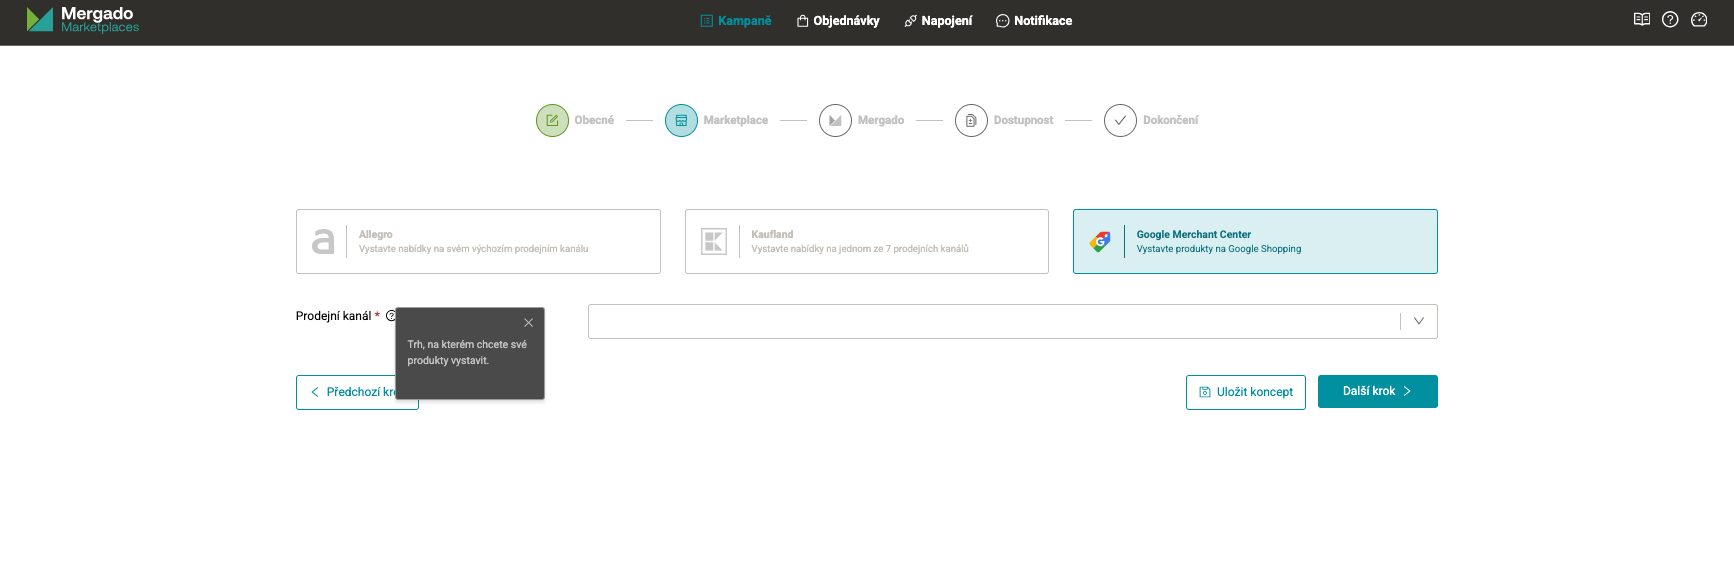
3. Mergado#
In this step, you need to select which Mergado project and selection you want to upload products from to the marketplace
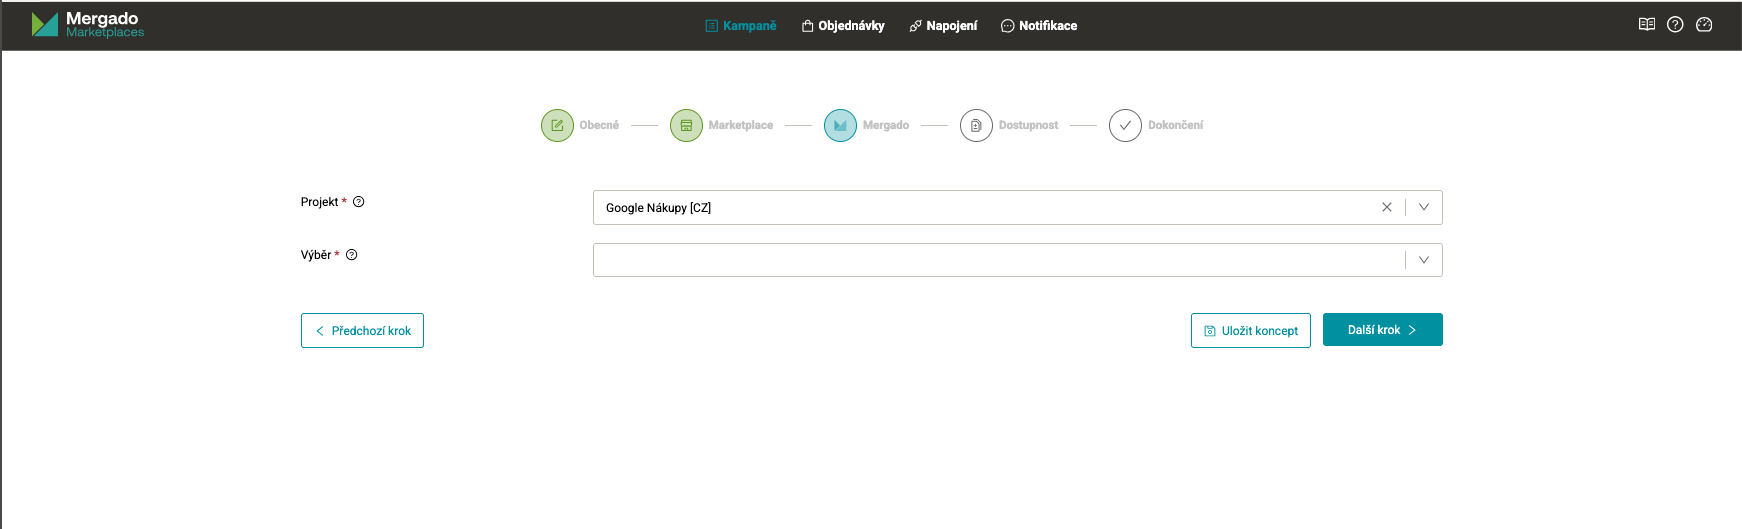
Don’t have any project to choose from yet? See how to upload a product feed into the Mergado Editor here.
ℹ️ If you don’t want to send all products from a given project to marketplaces, create a selection in the Mergado Editor with only the products you want to list on the marketplace.
Next, the section for mapping required elements from the selected project in the Mergado Editor will open automatically
ℹ️ If you already have a working GMC integration and want to switch to our API integration, it is important to create a new connection to avoid duplicates. You can achieve this by filling in identical values for these three elements:
- [contentLanguage]
- [feedLabel]
- [offerId]
ℹ️ The user can manually influence the value of the offerId element (in Mergado Marketplaces as Product ID) - the remaining element values are paired automatically. The contentLanguage element is filled based on the selected storefront. E.g. Czech market = cs. It always uses a 2-letter code according to the ISO 639-1. Pokud uživatel vyplní storefront = automaticky se také vyplní feedLabel. Př. český If the user selects a storefront, the feedLabel is also filled automatically. E.g. Czech market = CZ. This field allows up to 20 characters and supports A-Z, numbers 0-9, hyphens, and underscores. The label must not contain spaces, according to Google guidelines.
Users can also map optional elements - their detailed descriptions can be found here.
Conversational attributes for AI campaigns#
In the Mergado step (or later in the campaign settings), you will find the Conversational attributes section — new elements for Google AI campaigns (AI Mode). Fill them in the same way as other elements, by mapping them from your Mergado Editor elements.
4. Availability#
The fourth step is setting up the availability feed. Here, you simply provide the URL of your availability feed or you can use an availability feed from another campaign or from your e-shop in Mergado.
If you selected a project in Google Shopping or Mergado Marketplaces format in step 3, availability can also be synchronized through them. The main advantage of using a Mall or Heureka availability feed directly from your e-shop solution is the frequency of data updates.
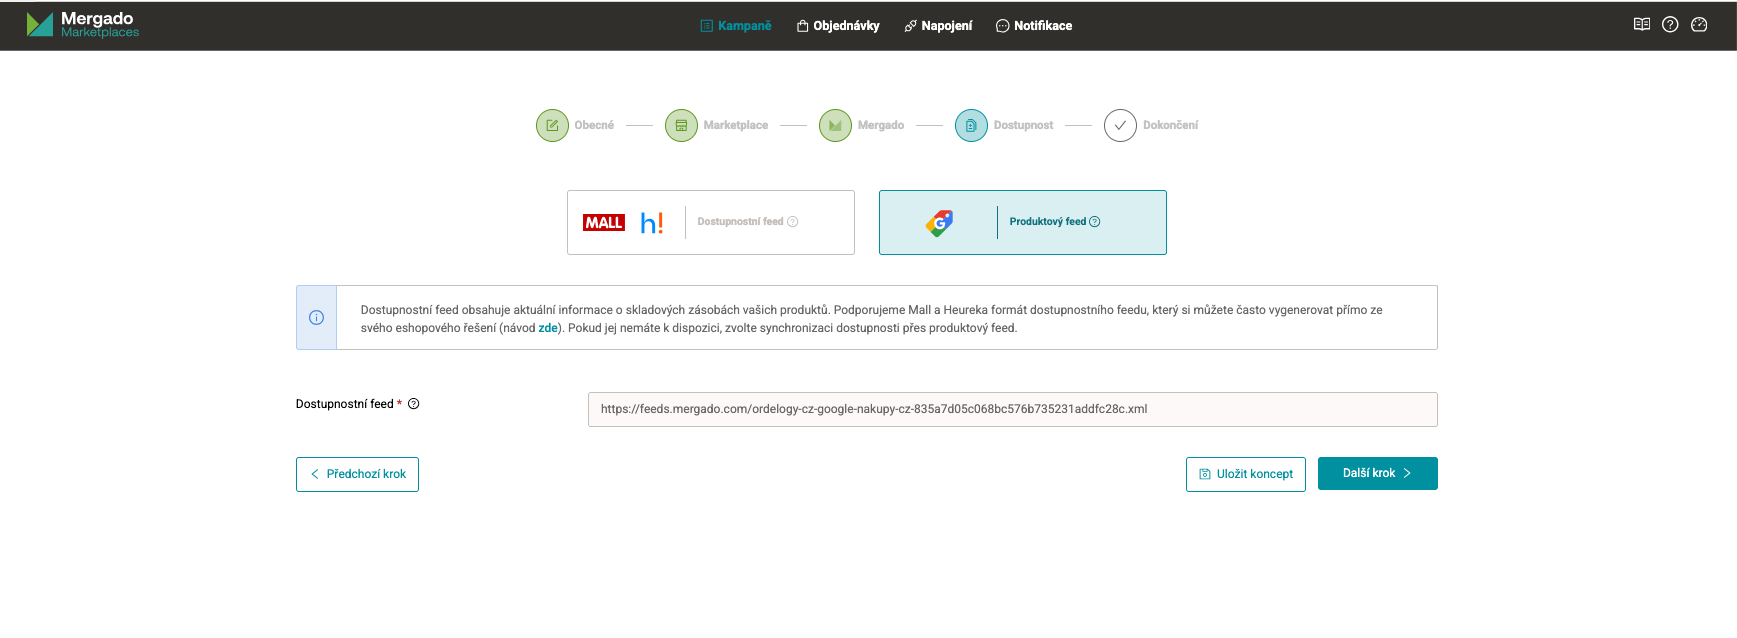
💡 If you do not have an availability feed in Mall or Heureka format, you can create one using the Mergado Editor. More information can be found in our article here.
5. Completion#
The final step is a summary of your campaign settings. At this stage, review all entered data - then click the “Save” button to complete the process.
✅ Once you save the campaign - it will be created and your offers will be uploaded to Google Merchant Center. At this point, Google sends the offers for review - which can take up to 3 business days, so we kindly ask for your patience. Offer statuses and validation messages are returned after the first synchronization. In the meantime, please check your uploaded products for any errors and fix at least the critical ones as soon as possible.